23 Apr 2022
Develope modern generator static site cms with jekyll foresty free source code
Saatnya membuat website generator static site blog dengan SEO penuh menggunakan jekyll dengan content management system cms
What is jekyll and why do so many people use it?? jekyll and hugo are pioneers and legends in the modern static site generator clan with the concept of working faster and creating incredible site speeds so this is the best solution for developers and users to use it, besides the ease of auto deploy on github pages makes it easy for you to create sites and blogs.And on this occasion we created a project that we called cute blog, a tool to make it easier for you to blog, this is a project specifically used for jekyll, previously we have created cuteblogs for various technologies ranging from astro, eleventy 11tty, pico cms , React and many others are still under development.
Apa itu jekyll dan kenapa sih banyak yang menggunakan nya ?? jekyll bersama hugo adalah pelopor dan legend di clan generator static site modern dengan konsep bekerja lebih cepat dan membuat kecepatan situs yang luar biasa maka ini adalah solusi terbaik bagi para developer dan pengguna untuk menggunakan nya, selain itu kemudahan untuk auto deploy pada github pages memberikan kemudahan untuk mu membuat situs dan blog.
Dan pada kesempatan kali ini kami membuat sebuah project yang kami namai dengan cute blog , sebuah tools untuk memudahkan mu dalam ngeblong, ini adalah project yang khusus digunakan untuk jekyll, sebelumnya kami telah membuat cuteblog untuk berbagai technology mulai dari astro, eleventy 11tty, pico cms, react dan banyak lain nya masih dalam proses pengembangan.
.jpg)
What's interesting about this tool, of course, is the unique and attractive design equipped with emoji, which adds to the cute appearance of your blog, and as the name implies, cuteblog gives its own special sensation on the design side, of course we have injected auto SEO in it which automatically will automatically generate titles, descriptions and social media cards for your article content, working with markdown gives freedom in the implementation of the writing style.
so what are you waiting for start downloading now and working with cuteblog free open source code.
Apa yang menarik dari tools ini tentunya adalah desain yang unik dan menarik dilengkapi dengan emoji semakin menambah cute nya tampilan blog kamu, dan sesuai dengan namanya maka cuteblog memberikan sensasi tersendiri khusus nya pada sisi desain nya, tentunya sudah kami injeksi auto SEO didalam nya yang secara otomatis akan menggenerate title, deskripsi dan sosial media card pada konten artikel mu, bekerja dengan markdown memberikan kebebasan dalam implementasi gaya penulisan nya.
jadi tunggu apalagi mulai unduh sekarang dan bekerja dengan kode sumber terbuka gratis cuteblog.
Download now on our github repo
Github Download
or use terminal and clone it
git clone https://github.com/mesinkasir/cuteblog-jekyll.git
Donate Now
Github Download
or use terminal and clone it
git clone https://github.com/mesinkasir/cuteblog-jekyll.git
Contibution with donation for support our team dev make other source code for the world.
Buy me a coffee ☕️ ❤️ ✌🏻Donate Now
Alright, before we start with the local terminal installation, let's see how this free open source code looks like which you can download for free.
Baiklah sebelum kita melakukan installasi ke lokal terminal untuk awal mari kita lihat bagaimana tampilan dari kode sumber terbuka gratis ini yang bisa kamu unduh tanpa biaya.
.png)
And let's dive the design side of the existing theme, this is the main homepage area, the entire article will be uploaded here, with the concept of the card making it more interesting with a list of articles, titles, descriptions, authors to the date of publication, not only that there is an emoji icon on the article of course it will be interesting.
Dan mari pelajari sisi desain tema yang ada, ini adalah area beranda utama, keseluruhan artikel akan di muat disini, dengan konsep kartu menjadikan lebih menarik dengan adanya list artikel, judul, deskripsi, pengarang hingga tanggal diterbitkan , bukan itu saja ada ikon emoji pada artikel tentunya akan menarik.
.png)
Furthermore, there is an article post page here that will display information from existing articles, equipped with cover images, titles, descriptions, content and all of them will automatically be taken by the script to make it automatic, seo follows the title and others, with this concept it is easier for you to focus more on blog posts.
Selanjutnya ada halaman post artikel disini akan menampilkan informasi dari artikel yang ada , dilengkapi dengan cover gambar, judul, deskripsi, konten dan semua nya secara otomatis akan di ambil oleh script untuk menjadikan nya otomatis seo mengikuti judul dan lain nya, dengan konsep ini semakin mudah untuk mu semakin fokus pada posting blog .
.png)
Mobile first support in its implementation, and by using the bootsrap framework it becomes more perfect for faster modern design needs and fully supports mobile displays, meaning that bootstrap makes it possible to automatically adjust the display from desktop or mobile to access needs, with this concept it is more comfortable in access to blog sites.
Dukungan mobile first dalam penerapan nya , dan dengan menggunakan bootsrap framework menjadi lebih sempurna untuk kebutuhan desain lebih cepat modern dan secara penuh mendukung mobile display , artinya bootstrap memungkinkan untuk secara otomatis menyesuaikan tampilan dari dekstop maupun mobile untuk kebutuhan akses, dengan konsep ini maka semakin nyaman dalam akses ke situs blog.
LIVE DEPLOY CUTEBLOG
OK, now there is a faster way to use this cuteblog to create your website and blog, the fastest step is to create an account on github first, then access and visit our repo at https://github.com/mesinkasir/cuteblog-jekyll after that the fork button with the icon and press , there will be a fork repo on your github, check the image above for details.
Baiklah sekarang ada cara yang lebih cepat dalam menggunakan cuteblog ini untuk membuat website dan blog mu, langkah tercepat buat lah akun di github terlebih dahulu, selanjutnya akses dan kunjungi repo kami di https://github.com/mesinkasir/cuteblog-jekyll setelah itu cara tombol fork dengan icon dan tekan , nanti akan ada repo fork pada github mu,cek pada gambar diatas untuk detail.
.png)
And now you visit the repo that you just forked earlier, then select the settings tab, then you will be on the repo settings page, and select page at the bottom left. check the image above.
Dan sekarang kamu kunjungi repo yang barusan kamu fork tadi, kemudian pilih tab setting , selanjutnya kamu akan ada di halaman setting repo, dan pilih page pada bagian bawah kiri. cek pada gambar diatas.
.png)
After clicking on the page menu, there will be a display to choose which repo is used to deploy your jekyll blog site as shown in the picture, configure it and select master / main and click save to save, wait a moment later the github page will provide a blog page for you with using this cuteblog. then access it by visiting https://namausergithub/github.io/cuteblog-jekyll replace the username with your github username. and congratulations, now you have successfully installed the cuteblog website.
Setelah klik pada page menu maka nantinya ada tampilan untuk memilih mana repo yang digunakan untuk deploy situs blog jekyll mu seperti pada gambar lakukan konfigurasi dan pilih master / main dan klik simpan untuk melakukan penyimpanan, tunggu sejenak nantinya github page akan memberikan halaman blog untuk mu dengan menggunakan cuteblog ini. selanjutnya akses dengan mengunjungi https://namausergithub/github.io/cuteblog-jekyll ganti nama user dengan username github mu. dan selamat kini kamu sudah sukses installasi cuteblog website.
Use Admin Backend CMS
.png)
Starting to work using the admin backend, okay to make it easier to update and edit or delete article posts, then you can register first and register to https://forestry.io/ , then click register then select register using your github account, later it will there is a security warning from github for doing integration with foresty. and select do integration.
Memulai bekerja menggunakan backend admin, baiklah agar memudahkan dalam proses update dan edit maupun hapus post artikel, maka kamu bisa daftar dahulu dan lakukan regristasi ke https://forestry.io/ , lalu klik daftar kemudian pilih mendaftar menggunakan github akun mu, nantinya akan ada peringatan keamanan dari github untuk melakukan integrasi dengan foresty. dan pilih lakukan integrasi .
.png)
And after that various questions will appear here, answer them according to your needs to use this git cms. and complete all questions and click save or next.so you can access to your admin backend dashboard.
Dan setelah itu akan muncul berbagai pertanyaan disini, jawab sesuai dengan kebutuhan mu untuk menggunakan git cms ini . dan selesaikan semua pertanyaan dan klik simpan atau selanjutnya.agar kamu dapat akses ke admin backend dashboard kamu.
.png)
And congratulations, you have successfully registered and are ready to deploy and online your site, in the picture above is the start page of this git cms, what are the benefits of using forestry?? Of course, it makes it easier for you to update articles, edit and delete articles, so we just have to access this page and work quickly, no need to push to your repo or make changes to the code, just via forestry everything can be handled easily. And now it's time for us to integrate our repo project here, for the first step then click the add site button.
Dan selamat kamu sudah berhasil melakukan regristasi dan siap untuk mendeploy dan online kan situs kamu, pada gambar diatas adalah halaman awal dari cms git ini, apasih manfaat penggunaan dari forestry ?? tentu nya memudahkan mu untuk melakukan update artikel edit dan hapus artikel , jadi kita cukup akses pada halaman ini saja dan bekerja dengan cepat, tidak perlu lagi push ke repo kamu atau melakukan perubahan kode nya, cukup via forestry semua dapat di handle dengan mudah nya. Dan sekarang saat nya kita intergasikan project repo kita disini, untuk langkah awal maka klik tombol tambahkan situs.
.png)
Next, select the technology used - select jekyll, then choose which github repo you want to go online, in this case the choice is on the cuteblog repo. And press the next button, wait a moment forestry will install and prepare the jekyll cms content management system for you.
Selanjutnya pilih teknologi yang digunakan - pilih jekyll , kemudian pilih mana repo github yang ingin kamu online kan , untuk kasus ini pilihan ada pada repo cuteblog .dan tekan tombol selanjutnya , tunggu sejenak forestry akan melakukan installasi dan menyiapkan jekyll cms content management system untuk mu.
.png)
And congratulations, now you can access and use content management for this jekyll to facilitate your work in updating blog content quickly without coding, of course. very helpful for ordinary users to be able to create websites and blogs using a modern static site generator.
Dan selamat kini kamu bisa akses dan menggunakan content management untuk jekyll ini agar memudahkan pekerjaan mu dalam update konten blog dengan cepat tanpa koding tentunya. sangat membantu bagi pengguna awam agar dapat membuat website dan blog menggunakan generator static site modern .
.png)
Now we can work quickly using this jekyll cms, according to the structure and concept of this theme that carries the power of blog posts, then you can immediately open the blog menu on the left side of the navbar, click there, then there will be a list of blog posts for articles. to edit then you can click on one of the articles and change it according to your needs.
Kini kita bisa bekerja dengan cepat menggunakan jekyll cms ini , sesuai dengan struktur dan konsep tema ini yang mengusung kekuatan pada blog post, maka kamu bisa langsung mmebuka menu blog yang ada pada samping kiri navbar klik disana, maka nantinya akan ada daftar artikel postigan blog untuk melakukan edit maka kamu bisa klik pada salah satu artikel dan ubah sesuai kan dengan kebutuhan mu.
.png)
Of course, using the git cms content management system will help and speed up your work a lot, without the need to write markdown styles because here it is automatic with the presence of a text editor menu that can quickly write with various payments to include images. to create a new press the create new button, and to save press the save button in the upper right corner.
Tentu saja dengan menggunakan git cms content management system ini akan banyak membantu dan mempercepat pekerjaan kamu, tanpa perlu menuliskan gaya markdown karna disini sudah otomatis dengan hadirnya menu text editor yang bisa dengan cepat untuk menulis dengan berbagai bayar hingga memasukan gambar. untuk membuat baru tekan tombol buat baru, dan untuk melakukan penyimpanan tekan tombol simpan yang ada pada bagian pojok atas kanan.
INSTALL & LEARN CODDING
If you want an installation using code, then you can use this method, you can even learn how to do the installation until the process of uploading the jekyll website project and the modern static site generator manually, for the first time we need to prepare several needs, including we need to work with nodes , then download node.next time we need ruby because jekyll works under ruby on rails, so download the ruby installer, of course we also need a text editor to make changes to the code, then you can download visual code studio. download all the needs and do the installation first.
Jika kamu menginginkan installasi dengan cara menggunakan kode maka kamu bisa menggunakan cara ini, bahkan kamu bisa belajar bagaimana melakukan installasi hingga proses upload project website jekyll maupun generator static site modern secara manual , untuk awal kita perlu mempersiapkan beberapa kebutuhan antara lain kita perlu bekerja dengan node, maka download node .
selanjutnya kita membutuhkan ruby karna jekyll bekerja dibawah ruby on rails, jadi unduh installer ruby, tentu kita juga perlu text editor untuk kebutuhan melakukan perubahan pada kode , maka kamu bisa mengunduh visual code studio . unduh semua kebutuhan dan lakukan installasi terlebih dahulu.
After doing the required installation, then we need to check whether the node has been successfully installed on your device, then open a command prompt shell terminal bash first, the way for Windows OS is to press the windows icon and type cmd , then a terminal shell will appear, and we can enter the following command
node -v and press enter keyboard, if the terminal displays node version then congratulations you have successfully installed, and of course we can also check the npm version by running npm -v.It's time to check the ruby installation that you did before, still using the bash terminal shell / command prompt and running the
ruby -v command if the ruby version is displayed then you have successfully installed ruby and are ready to work with jekyll.
Setelah mealakukan installasi kebutuhan , selanjutnya kita perlu cek apakah node berhasil terinstall pada perangkat kamu, maka buka command prompt shell terminal bash terlebih dahulu, cara nya untuk OS windows maka tekan icon windows dan ketikan cmd , selanjutnya shell terminal akan muncul, dan kita bisa memasukan perintah berikut ini
node -v dan tekan enter keyboard, jika terminal menampilkan node versi maka selamat kamu sudah sukses melakukan installasi, dan tentu saja kita juga bisa cek npm versi dengan menjalankan npm -v.Saatnya kita cek installasi ruby yang sudah kamu lakukan sebelum nya, masih menggunakan terminal shell bash / command prompt dan jalankan perintah
ruby -v jika versi ruby ditampilkan maka kamu sudah sukses melakukan installasi ruby dan siap bekerja dengan jekyll.
Now when we first install jekyll using a bash shell terminal, then we can run the following command
gem install jekyll bundler this command aims to install the jekyll package to your device, to check if jekyll was successfully installed then enter the following command jekyll -v. if the terminal displays the version of jekyll you installed it means you have successfully installed it correctly.Sekarang saat nya kita melakukan installasi jekyll terlebih dahulu menggunakan terminal shell bash ,maka kita bisa dengan menjalankan perintah berikut ini
gem install bundler jekyll perintah ini bertujuan untuk melakukan installasi jekyll paket ke perangkat kamu,untuk cek apakah jekyll berhasil terinstall maka masukan perintah berikut ini jekyll -v. jika terminal menampilkan versi dari jekyll yang kamu install ini berarti kamu sudah sukses melakukan installasi dengan benar.And it's time now we start to run the free open source code download this to your local device, for the first time we access the desktop first and create a new folder and name it cuteblog - then move all the code files to that folder, open a terminal shell and run this command
cd C:\Users\pcname\Desktop\cuteblog replace pcname with your pc name. then we need to run the following command to run cuteblog, jekyll serve or you can also use the following code bundle exec jekyll serve.and open web browser then access at localhost:4000 now cuteblog is successfully online on your device.Dan saat nya kini kita mulai untuk menjalankan kode sumber terbuka gratis unduh ini ke perangkat lokal kamu, untuk awal kita akses ke desktop terlebih dahulu dan buat folder baru dan namai dengan cuteblog - lalu pindahkan seluruh file kode ke folder itu, buka shell terminal dan jalankan perintah ini
cd C:\Users\pcname\Desktop\cuteblog ganti pcname dengan nama pc kamu. kemudian kita perlu menjalankan perintah berikut ini untuk menjalankan cuteblog, jekyll serve atau kamu juga bisa menggunakan kode berikut ini bundle exec jekyll serve dan akses web di localhost:4000 kini cuteblog sudah berhasil online di perangkat mu.SETTING & CONFIGURATION
Now we can open the source code, and for the beginning we need to do the settings first, open the _config.yml file with a code editor and make changes to the title , the description adjusts to the title and description for your site and blog. then save, turn off the jekyll terminal by pressing the ctrl+c keys together and run it again with the command
jekyll serve or bundle exec jekyll serve and access localhost:4000 in the web browser.Sekarang kita bisa membuka sumber kode, dan untuk awal kita perlu melakukan pengaturan terlebih dahulu, buka _config.yml file dengan kode editor dan lakukan perubahan untuk judul , deskripsi sesuaikan dengan judul dan deskripsi untuk situs dan blog kamu. kemudian simpan , matikan terminal jekyll dengan menekan tombol ctrl+c bersamaan dan jalankan lagi dengan perintah
jekyll serve atau bundle exec jekyll serve dan akses localhost:4000 di browser website.CRUD ARTIKEL
Now it's time for us to start working on creating, editing and deleting blog post content, by opening the _posts folder and we will see some examples of articles there, to make changes, select one of the articles and use the code editor to open the code file or you too you can use notepad to change it, to delete click and select the article then press delete from your keyboard, to create a new one you can easily copy and paste an existing article then change and name the post format according to your article title url link. article format
year-month-date-title.md if implemented it becomes like this 2022-04-24-mypost.mdNah sekarang saat nya kita untuk mulai bekerja membuat, edit dan hapus konten blog posting, dengan cara buka folder _posts dan kita akan melihat beberapa contoh artikel disana, untuk melakukan perubahan maka pilih salah satu artikel dan gunakan kode editor untuk membuka file kode atau kamu juga bisa menggunakan notepad untuk merubah nya, untuk menghapus klik dan pilih artikel kemudian tekan hapus dari keyboard mu, untuk membuat baru kamu bisa dengan mudah menyalin dan menempelkan artikel yang ada kemudian rubah dan namai format post nya sesuaikan dengan link url judul artikel kamu.contoh nya format artikel
tahun-bulan-tanggal-judul.md jika di implementasikan menjadi seperti ini 2022-04-24-postku.mdARTCILE FORMAT
For the post article content format, you are required to fill in and study the intent and purpose for display and SEO needs on your blog and website, then check the markdown format structure below
Untuk format konten artikel posting maka kamu wajib mengisi dan mempelajari maksud serta tujuan untuk kebutuhan tampilan dan SEO pada blog dan website kamu, maka cek struktur format markdown dibawah ini
---
layout: post #bydefault
title: "insert title in here"
description: "a description for blog page article"
cover: image for cover blog post
---
Now you can write articel in here..
Simple Markdown Typography by example
H1 use #
H2 use ##
H3 use ###
H4 use ####
H5 use #####
List use + or you can use -
Image use 
Link use [klik me](url)
And after you make the overall changes, now websites and blogs are ready to go online to hosting, then learn the integration of hosting and get your website online.
Dan setelah anda melakukan perubahan keseluruhan , maka kini website dan blog sudah siap untuk di online kan ke hosting, maka selanjutnya pelajari integrasi hosting dan online kan website anda.
DELPOY WEBSITE ON HOSTING
Well before we upload to static hosting then we need to run the following command using terminal , run
jekyll build and later we will use the _site folder for us to upload to cloud hosting.Baik sebelum kita upload ke statis hosting maka kita perlu menjalankan perintah berikut menggunakan terminal , jalankan
jekyll build dan nantinya kita akan menggunakan folder _site untuk kita upload ke cloud hosting.Deploy to firebase.
create a new folder that will be used to deploy your site to firebase, and create a new folder in it named with the name of your blog site, then copy all files from cuteblog/_site to this folder.
to use firebase then you can register first, and open the console - create a new project name it site project, and select hosting then create a new site there name it with your site name, then you need to read documentation how to push and develope to firebase by checking the link in bottom.
buat folder baru yang nantinya digunakan untuk mendeploy situs kamu ke firebase, dan buat folder baru lagi di dalamnya namai dengan nama situs blog mu, kemudian salin seluruh file dari cuteblog/_site ke folder ini.
untuk menggunakan firebase maka anda dapat daftar terlebih dahulu , dan buka konsole - buat proyek baru namai dengan proyek situs, dan pilih hosting lalu buatlah situs baru disana namai dengan nama situs mu, selanjutnya anda perlu mempelajari dokumentasi push dan develope ke firebase dengan cek pada link berikut ini.
Firebase Documentation →
Deploy to surge
Make sure you have accsess on _site folder for deploy cuteblog, or you can run
cd C:\Users\pcname\Desktop\cuteblog\_siteFor deploy to surge you need to install surge globaly first, so you can run
npm install --global surge then you can run surge and register with your ID and deploy your site now. - then visit on your domain from surge, and conratulation your website blog is live now.Sebelumnya pastikan anda sudah masuk ke folder _site karna kita akan upload seluruh kode disana agar dapat di online kan ke surge.
Untuk online kan ke surge maka kita perlu untuk melakukan installasi surge dengan menjalankan perintah
npm install --global surge kemudian setelah installasi surge selesai kini kita bisa mendaftar dan langsung online kan situs kita dengan cara menjalankan perintah berikut ini surge kemudian isikan dengan id anda dan mulai online kan situs website dan blog mu. dan deploy... selamat kini situs kamu sudah online , dan kamu dapat akses dari domain yang diberikan surge untuk mu.Deploy to github pages
For this process, the steps are almost the same as using the cms content management system above - read again how to scroll up on the forestry usage menu, only here the process will be faster, so we just need to push to the repo and then go to settings, select page and change the configuration using main / master and save, github will automatically generate your page and go online.
Untuk proses ini langkah nya hampir sama dengan cara menggunakan cms content management system diatas - baca lagi cara nya skrol keatas pada menu penggunaan forestry, hanya saja disini proses nya akan lebih cepat, jadi kita tinggal push ke repo dan kemudian masuk ke pengaturan , pilih halaman dan ubah konfigurasi dengan menggunakan main / master dan simpan, secara otomatis github akan menggenrate halaman kamu dan langsung online. Deploy to netlify , heroku , vercel
For starters we must create a repo on your github account, so login to github - create a repo and name it with your project name, and later there will be documentation on how from github how to send this code to your project repo, then we will push the repo to later we use integration with netlify, heroku, vercel .
now go to your working folder open with terminal
cd C:\Users\pcname\Desktop\cuteblog and read documentation push to github repo. from your new repo. then register and register to netlify,vercel,heroku - create a new project then integrate it with your existing github project and start deploying, congratulations now your site is online and accessible.Untuk awal kita wajib membuat repo di github akun mu, jadi login ke github - buat repo dan namai dengan nama project mu, dan nanti akan ada dokumentasi bagaimana dari github bagaimana cara mengirimkan kode ini ke repo proyek mu , selanjutnya kita akan melakukan push repo untuk nantinya kita gunakan intgerasi dengan netlify,heroku,vercel .
sekarang masuk ke folder kerja kamu buka dengan terminal
cd C:\Users\pcname\Desktop\cuteblog dan baca dokumentasi push ke github repo. dari repo baru kamu. kemudian daftar dan regristasi ke netlify,vercel,heroku - buat project baru lalu integrasikan dengan project yang ada di github kamu dan mulai deploy, selamat kini situs kamu sudah online dan dapat diakses.via Terminal shell - A simple push to github repo by example
git init
git add .
git commit -m "update first"
git remote add origin https://github.com/username/yourrepo
git push -u origin master
git push https://tokencode@github.com/username/reponame
And finished this post about How to make a modern website with a static site generator with this cms made plus free open source code download. I hope it can help you in your needs to create websites and blogs.git add .
git commit -m "update first"
open github and copy repogit remote add origin https://github.com/username/yourrepo
git push -u origin master
# if not work you can use github Personal access tokens - visit this link https://github.com/settings/tokens and copy personal token and use it for push , and create new push formatgit push https://tokencode@github.com/username/reponame
Dan selesai sudah post menegenai Bagaimana cara membuat website modern generator static site dengan cms ini dibuat plus dukungan kode sumber terbuka gratis untuk kamu unduh . semoga dapat membantu mu dalam kebutuhan membuat website dan blog .
Our jekyll source code project free to download
Dablogger →
Gitjek →
Darkcat →
Cuteblog for other technology
Cuteblog for Pico CMS →
Cuteblog for Astro →
Cuteblog for Eleventy 11ty →
Cuteblog for React →
Cuteblog for Jekyll →
Cuteblog for Phyton Flask →
Cuteblog for Django Phyton CMS →
Cuteblog for Sapper Svelte →
Cuteblog for Gatsby JS →
Cuteblog for Angular →
Cuteblog for PHP →
BONUS CONTENT YOU NEED TO KNOW :
New Point of sale mesin kasir →
All sourcecode project →
 How to fix deploy angular on netlify
 Install add bootstrap to next js
 Blazor peforma mu gak bahaya ta??
 Cara agar iframe bootstrap jadul lama menjadi responsive.
 Mengatasi building development bundle error.
 Web Modern Built time yang Horor banget !!
 Rent Car CMS free download full source code
 Why my pico website is display blank white ??
 Mengetahui Status Sitemap pada Google Search Console
 Cara melakukan update gatsby cepat dan mudah
 Error digital envelope
 Error svelte adapater build

 About kasir apps online
 Ang application ng cashier ng restawran at shop
 Aplikasi Bengkel Software Program Bengkel
 Aplikasi Bisnis Office
 Aplikasi kasir bill restoran online murah
 Alarm Security
 Aplikasi
 Aplikasi Akuntansi
 Aplikasi Grosir dan Eceran Toko
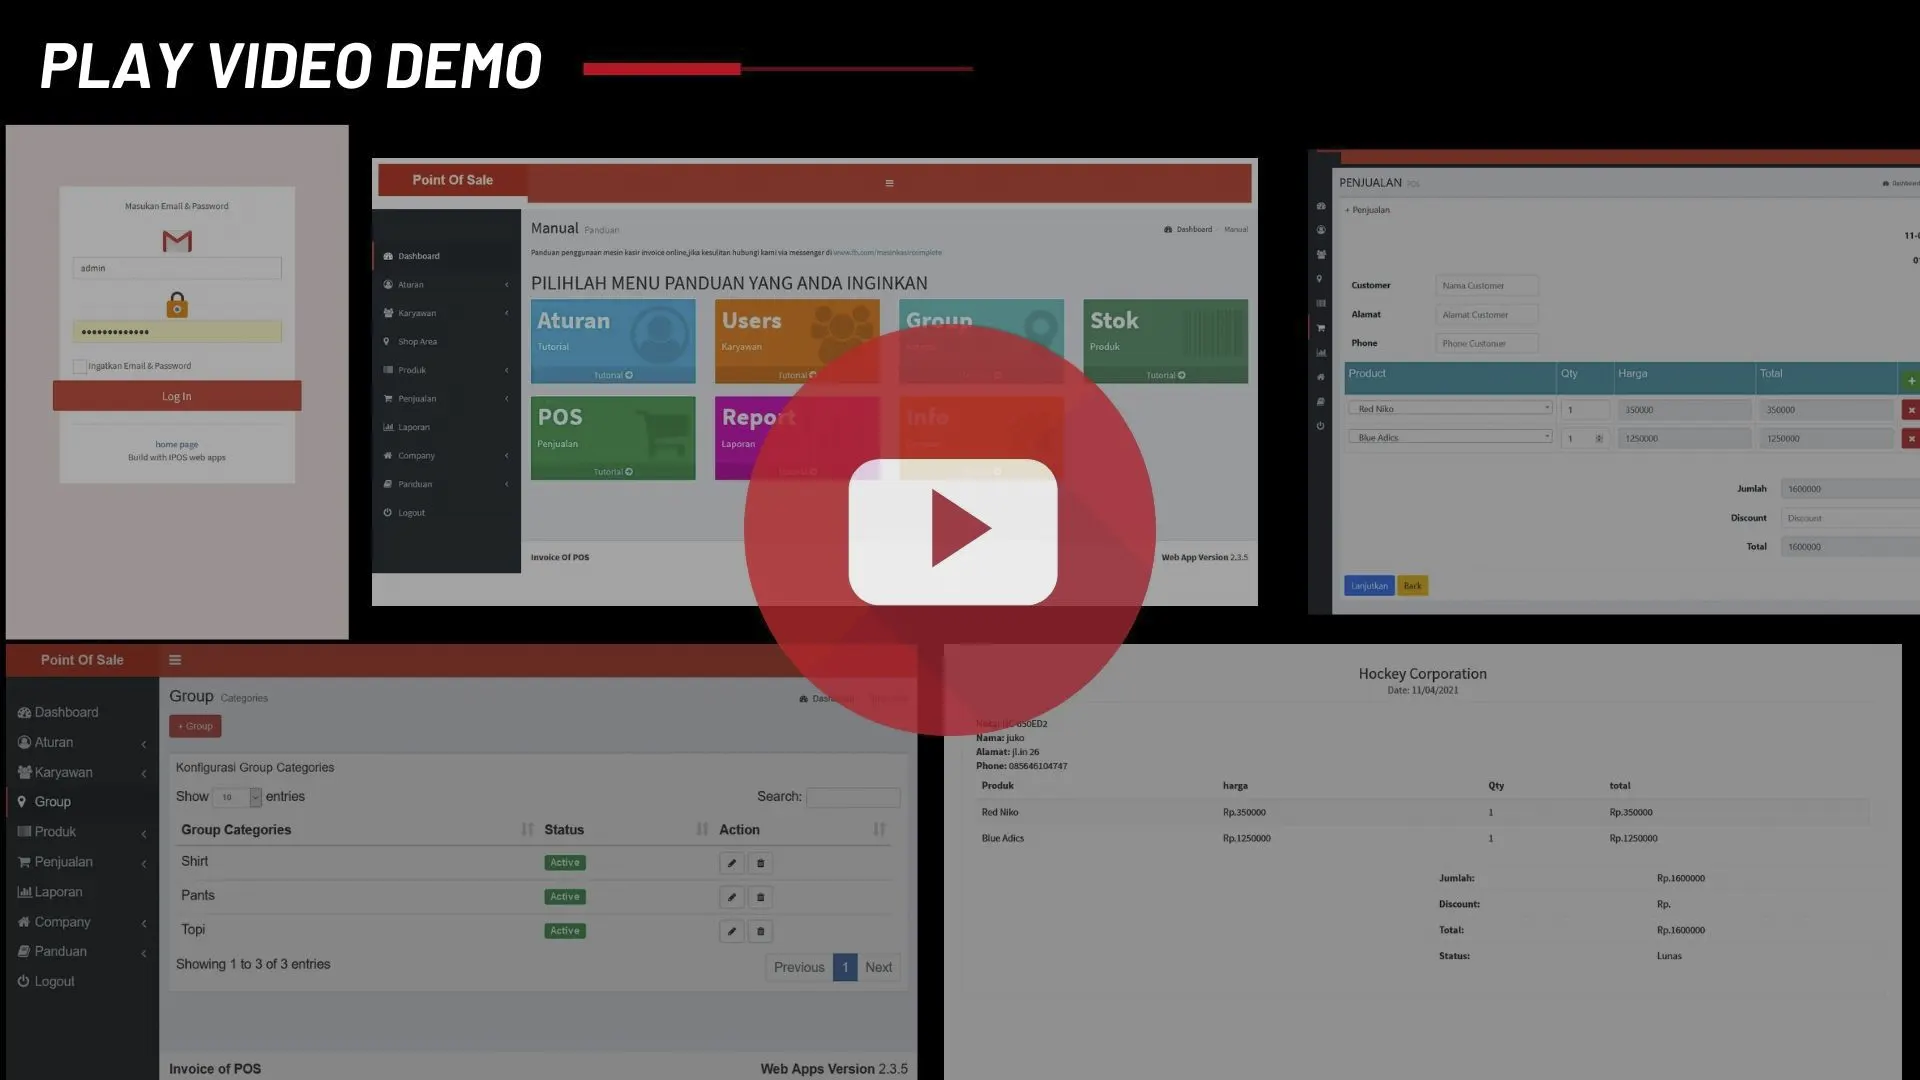 Aplikasi Invoice