27 Oct 2022
Blazor WASM Landing Page webassembly
Blazor WASM Landing Page webassembly free download source code full - click here !!
Yess... if you love with blazor and need to build modern website using single page application include progresive website app technology so in this project you can download it for free, of course with full source code make easy for update and edit design or content with your needed. Same like react , angular or svelte we can built single page app/ progresive web app website using this project. so what is different is in blazor we code with html and C# , and we can add css or js too, if you needed for make your site very attractive.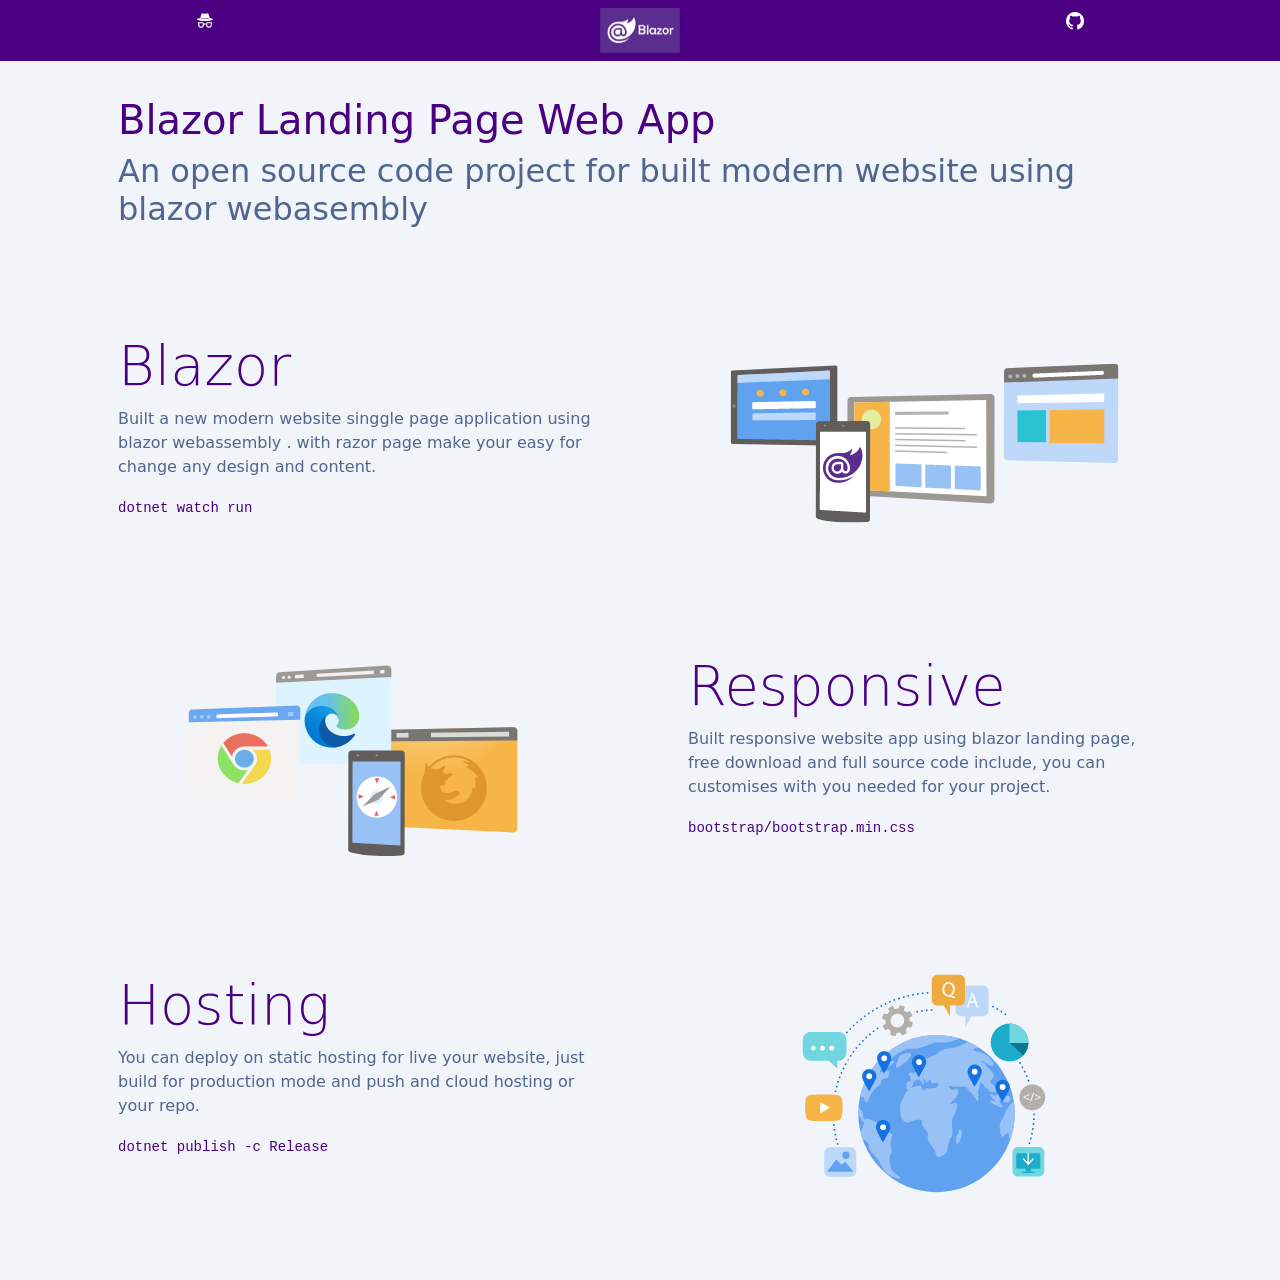
On this source code project we use bootstrap for css framework, so make easy for you to redesign just read documentation from bootstrap, and yeah.. we use landing page concept, and you can change image , content article, and other with you needed in here.. no need wory because this project is very easy to customises, you just need to visit on pages folder for change SEO , then open on shared folder if you want to change slicing design. this free and full with source code download now and get start learn and built modern single page app include progresive web app using blazor webassembly.
Github Download
Clone with terminal just run
git clone https://github.com/mesinkasir/blazorlandingpage.git
Contibution with donation for support our team dev make other source code for the world.
Buy me a coffee ☕️ ❤️ ✌🏻Donate Now or Hire Staff
HOW TO INSTALL ??
For first of course we need to install dot net , because this web app is run using dot net, then you need vode editor so we recommended using visual studio or visual studio code, and then download and run this porject on your local server. download third party app now and get start run this project.
DotNet Download →
Visual Studio Download →
or you can use
Visual Studio Code Download →
Install all apps , then you can open terminal just click on windows logo, and typing CMD then you can see command prompt on pop up windows, now you can check dotnet version with run
dotnet --version if you installation is success so terminal will displaying dotnet version you have install on your devices, okay now this time to run your project, for first create new folder on desktop and name it with blazorlandingpage - open download files then you can copy all files and paste to your project folder on desktop . okay now we need to accsess this project using terminal, so open command prompt again and insert this command cd: C:\Users\yourpcname\Desktop\blazorlandingpage - need to change pcname with yourpcname, and now we can accssess this folder with terminal, next step is just run this command dotnet watch run wait... and your default web browser will be open your project. and congratulations you have successfully for run this project.Next step you just need to change any image and code with you needed, then after finish now you can deploy it on static host, for example we can use netlify, vercel, cloudflare , firebase or surge. For simple step we can deploy it on surge.
DEPLOY ON SURGE / FIREBASE
For deploy from local and push on cloud host like firebase or surge, we need to build production first , so back to terminal again and run
dotnet publish -c Release -o website this command for build production mode, after run this command now you will be see on your project have new folder with website. now we need to accsess this built mode using terminal and run cd: C:\Users\yourpcname\Desktop\blazorlandingpage\website\wwwroot
, next step we want to deploy on cloud hosting and make your website live, for simple step we use surge, you just need to download and install surge on your device, open terminal and run npm install --global surge for install surge on your devices , then we need register to surge so run this command surge - input with your id, and select your domain name .surge.sh , that's it.... and congratulations now your website is live !!DEPLOY ON NETLIFY
Okay now if you need to deploy on netlify so you need to integration your repo with netlify host, so you can follow this step, for first of course we need to register on github, just visit on github and click register or signup , after registration success now you can visit on your github account , click new repo - name it repo project . back again on source code file folder, now we need to push and upload this all files on your github repo, so follow this command, open terminal and run.
      git init

      git add .

      git commit -m "upload and push blazor website"

      git branch -M main

      git remote add origin https://github.com/yourusername/yourrepo.git

      git push -u origin main
And you can visit on your github repo,then you will see all source code files is success upload in your repo, now the last step we need to register on netlify, so visit netlify webiste and click sign up , now you need register with your id, after registration success you need to open netlify dashboard, then create new site - select github integration with git - and select your repo project folder and integrate with netlify, now on build command you need to input this
dotnet publish -c Release -o static , and on publish directory input this static/wwwroot then run deploy...and congratulations.. you have deploy blazor website on netlify.
BONUS CONTENT !!
Blazor Landing Page free download →
Blazor WASM free download →
Blazor html project free download →
All source code project free download →
Mesin kasir terbaru →
 How to fix deploy angular on netlify
 Install add bootstrap to next js
 Blazor peforma mu gak bahaya ta??
 Cara agar iframe bootstrap jadul lama menjadi responsive.
 Mengatasi building development bundle error.
 Web Modern Built time yang Horor banget !!
 Rent Car CMS free download full source code
 Why my pico website is display blank white ??
 Mengetahui Status Sitemap pada Google Search Console
 Cara melakukan update gatsby cepat dan mudah
 Error digital envelope
 Error svelte adapater build


 About kasir apps online
 Ang application ng cashier ng restawran at shop
 Aplikasi Bengkel Software Program Bengkel
 Aplikasi Bisnis Office
 Aplikasi kasir bill restoran online murah
 Alarm Security
 Aplikasi
 Aplikasi Akuntansi
 Aplikasi Grosir dan Eceran Toko
 Aplikasi Invoice
