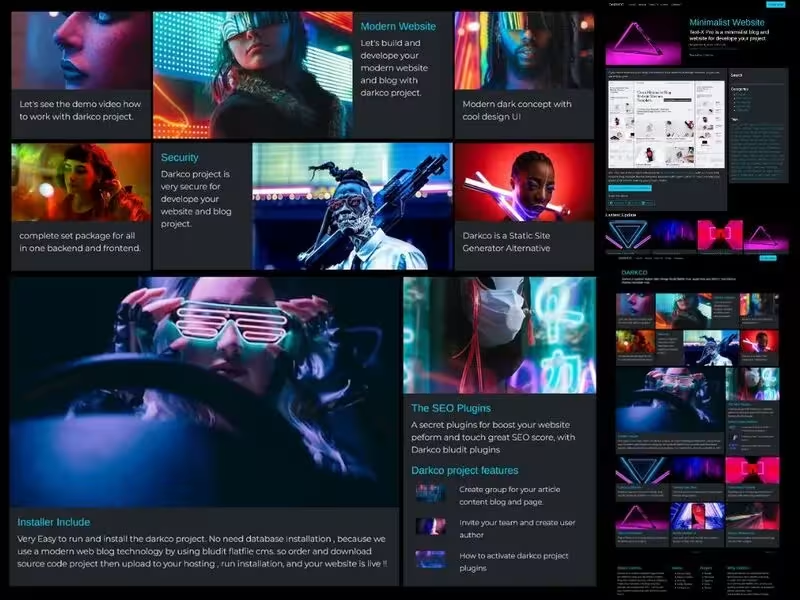
Darkco Dark website blog themes
Develope and build your modern website with Darkco project - dark modern website blog themes template.
How To
1
Download or Order Template
2
Read Documentation Project
3
Run Project on your website
themestemplate website themes website template blog themes blog template template blog cms backend frontend dark modern cool design flatfile cms bludit bluditthemes featuredpremium premiumthemes
Darkco Dark website blog themes Content Docs
DARKCO Dark Modern Website # .
Dark modern website template - with Darkco Project.
Installation Darkco # .
- Upload Source Code project on your website project hosting.
- Extract all source code in to your website project.
- Visit your website and run installation
- For access admin backend you can visit on yourweb/admin
How to # .
Login
For login on admin area, you can visit on yourweb/admin , then insert username by default is admin, you can change later on user menu, then input your password .
Dashboard
Next you will access on dashboard area, for first we need to configure your site, so you can access on SETTINGS - and click on General.
Configuration
Now you can setup your site, by change title,description and others. Click on advance tab, and you can change how many post article display on homepage, then click on logo and upload your logo in there. and save it for update your website setup.
Plugins
Now we need to activate plugins, visit on SETTINGS - plugin, then scroll down click activate this plugins list.
- All Darkco Plugins (Darkco UI , Darkco Footer)
- RSS Feed
- Search
- Sitemap
- Twitter Card
- Open Graph
- Users
Users
Now we can move to MANAGE - Users - this is user management area, so you can register, delete and update user in this area. for edit user you can click on user name, then update or delete it. For create new you can click add new user menu.
Categories
Oke, next we need to create categories , for grouping your blog post and static page article, so visit on MANAGE - Categories, and you will see example categories in here. for update or delete you can click on categories , then select what you need with this categories for update edit or delete it.
Content Article
Next, we can move in to content area for create blog post , or create static page. In the content area you can see all your blog post in Pages tab, and you can click tab Static menu to see your static page in there, and you can also click on sticky, schelduled and draft tab for check all your content in here.
For first you can delete example article in content area, just click delete. Now you can create new content , by click New content menu.
After click new content menu, now you can insert your title, and write your article on this area.
Next , you can click options tab and select you categories for your article, and insert the description, then upload your cover image on Options - General tab.
For insert tags, you can click on Advance tab, and on TAGS area you can insert your tag for article in there. If you need to write your article for blog post , so you can select default on TYPE section.
If you need write for static page, example about page, contact page and others, so you can select type Static on TYPE section.
After that, you can click save button , for update your content article.

Dark Resto Bluger Free Download

UPDATE NEW THEMES TEMPLATE
Select your favorite technology and website blog themes template


